Now that you are a licensed soccer official, let’s get you on the pitch!
If you have any trouble accessing your profile, please contact Sarah Wheeler, Training League Administrator, at swheeler@trainingleague.org or by phone/text at 402.603.0030.
Here are the steps you need to do to get started now!
JUMP TO:
Step 1 - Set Up Your Assignr Account
1. We assign games through a system known as Assignr.
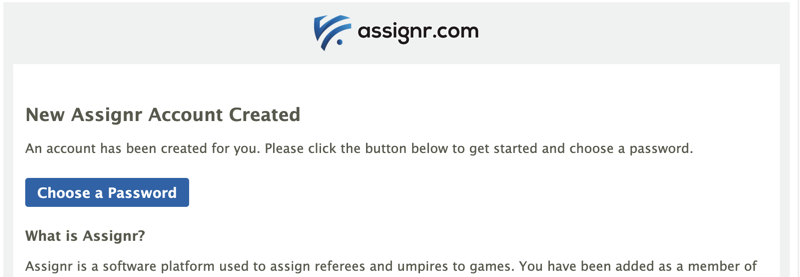
2. We will automatically create your profile in the system, and you will receive a welcome message in your email to set up your password. Assignr will be set up on the email address that you entered into the Learning Center when you first registered to be a referee. If you do not see it in your inbox, check your Spam folder.
3. Do NOT create a profile in Assignr on your own. If you do, you will not see any games. You must wait until you get this welcome email.
4. Only after you get the welcome message, you can log into Assignr by clicking here:
8. Once you log into Assignr, should review your personal information. Make sure all information, particularly your email(s) and phone number(s) are correct.
Step 2 - Setup Your Payment Profile
1. You cannot self-assign to games, get assigned, or get paid for games that you work until you get your Payment Profile set up for direct deposit. Do this right away! All NYSL games are paid through Direct Deposit.
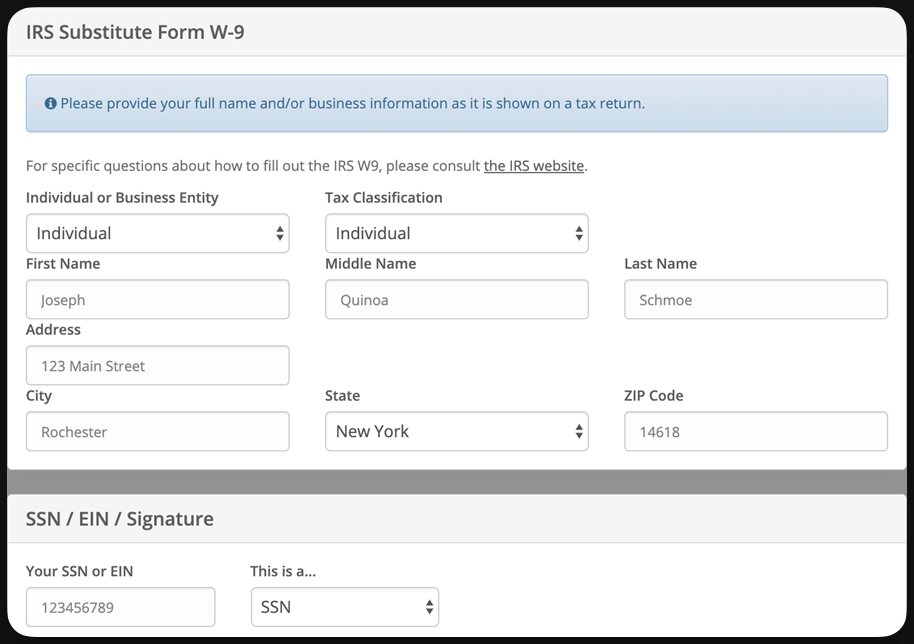
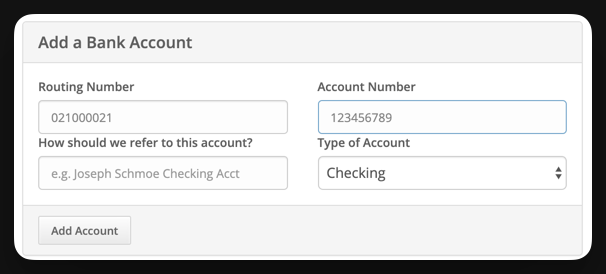
2. You will need to add your W9 and bank information to the system to receive payments for your games.
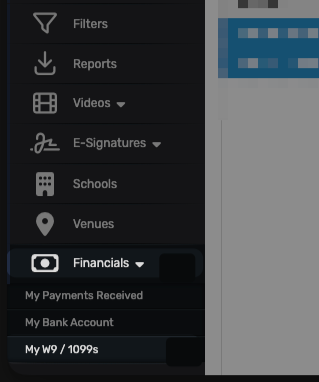
3. To add your W9, navigate to ‘Financials’ → My W9/1099s and follow the on screen prompts to add the requested information.
Click Save
4. To add your bank, navigate to ‘Financials’ → My bank account. and follow the on screen prompts to add the requested information. Select Add Account.
Step 3 – Self Assigning Games
Most of the games which you will work initially are self-assigned. This means you get to choose the games you work!
To self-assign games, follow these steps:
1. Log in to Assignr.
2. Navigate to Games →All Unassigned Games
3. You will see a list of games available with the time of the match, field location, team names, crew information.
4. U10 games, there are only two positions – Referee and Trainer. To choose those games, click on the ‘Request It’ next to the ‘R’. If there is not already a Trainer assigned to this match, we will work to assign one for you if available.
5. Games in the older age groups have a three-person crew (Referee, AR, AR). Decide with position you want to work and click the ‘Request It’ next to that positions letter.
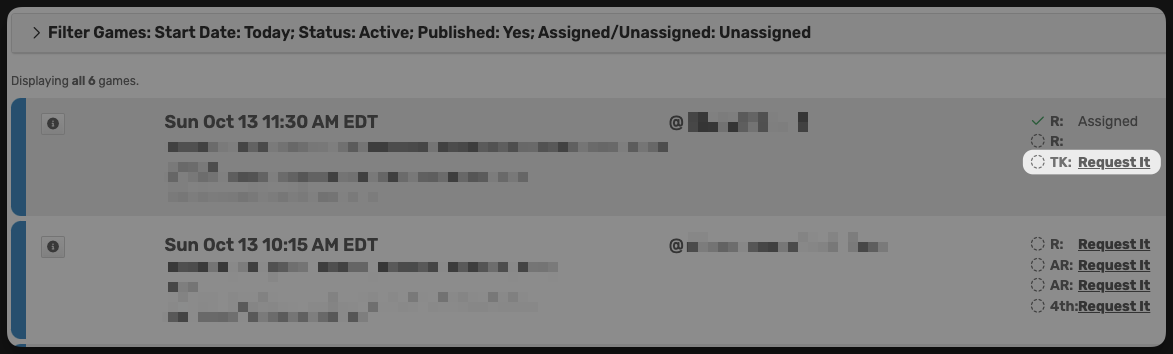
6. If you do not see the ‘Request it’ for a particular game or position, it’s probably a game at too high of a level for your experience. When you are in the Training League, the system will only allow you to assign to Training League level games, which are the games at the perfect starting place & are teams that have higher behavior expectations so you don’t have to worry about making a mistake. It’s expected!
Step 4 – Setting Your Availability
In addition to assigning yourself to games, you may also be assigned to work games by the Training League assignors.When this happens, it is unnecessary to call the assignor and let them know you didn’t ask to work games – they know that. Getting an assignment should be viewed as an assignor asking you to work. You can say yes by accepting the assignment, or say no by declining it.
1. To avoid being assigned to games when you can’t or don’t want to referee, it helps to set your availability. This tells assignors when you know you are available to work games.
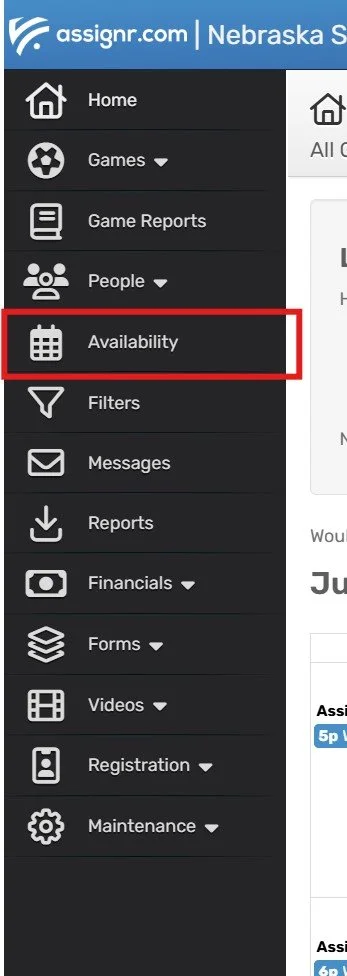
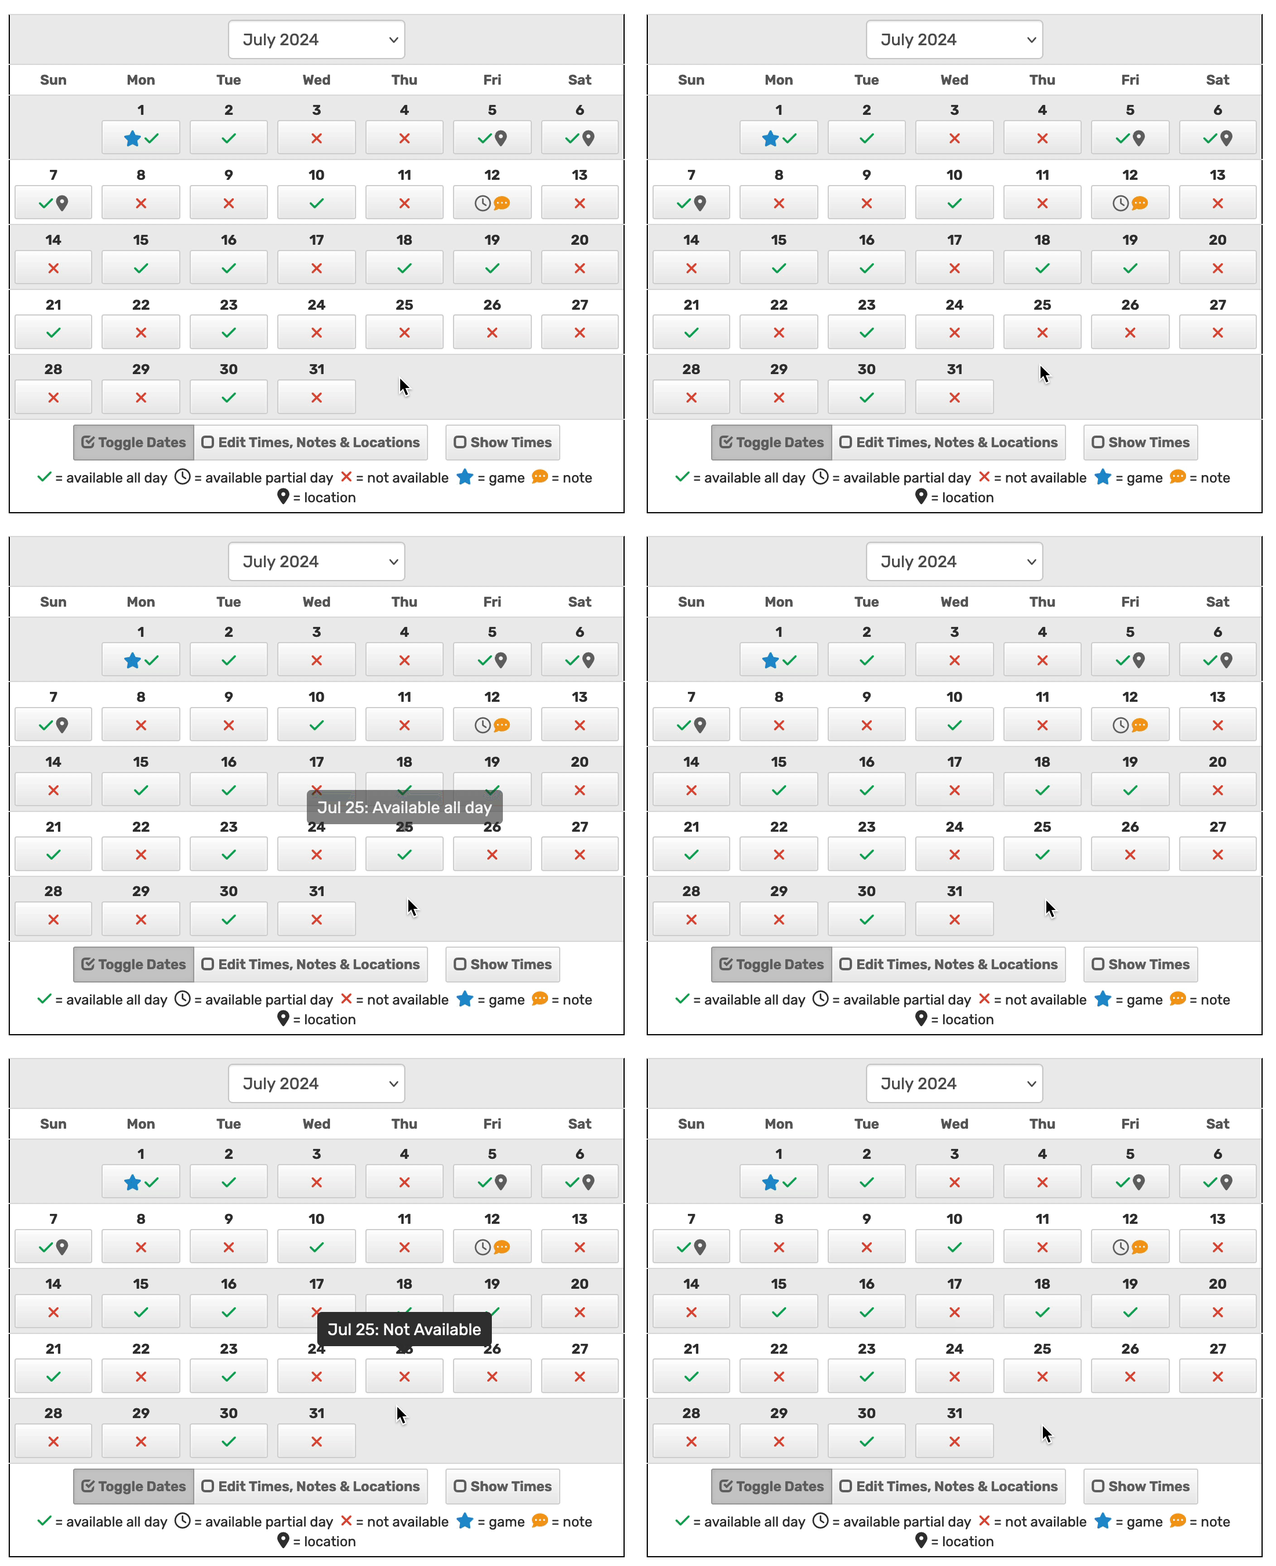
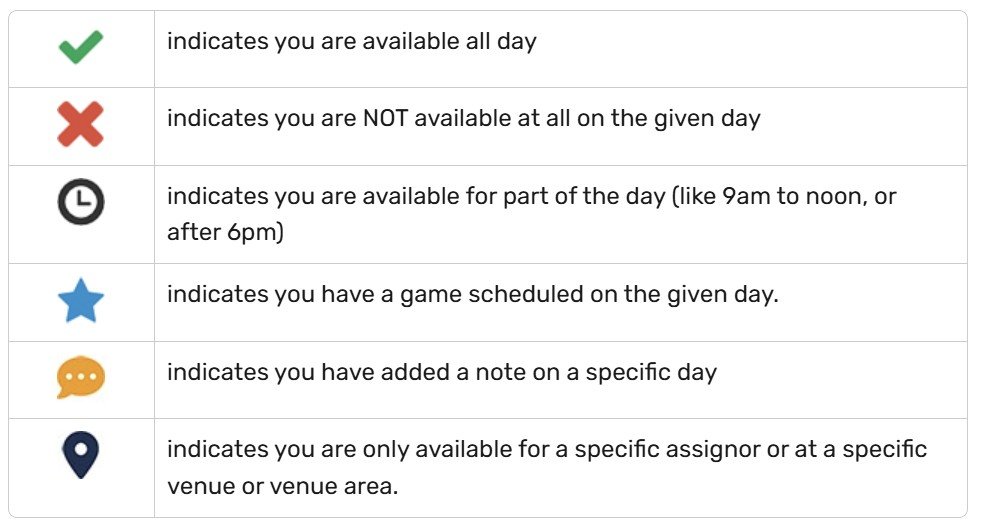
2. Navigate to the ‘Availability’ page to view your personal calendar. At the bottom of the calendar is a switch to adjust your availability.
3.When ‘Toggle Dates’ is selected you can switch a date from ‘Not Available’ to ‘Available’
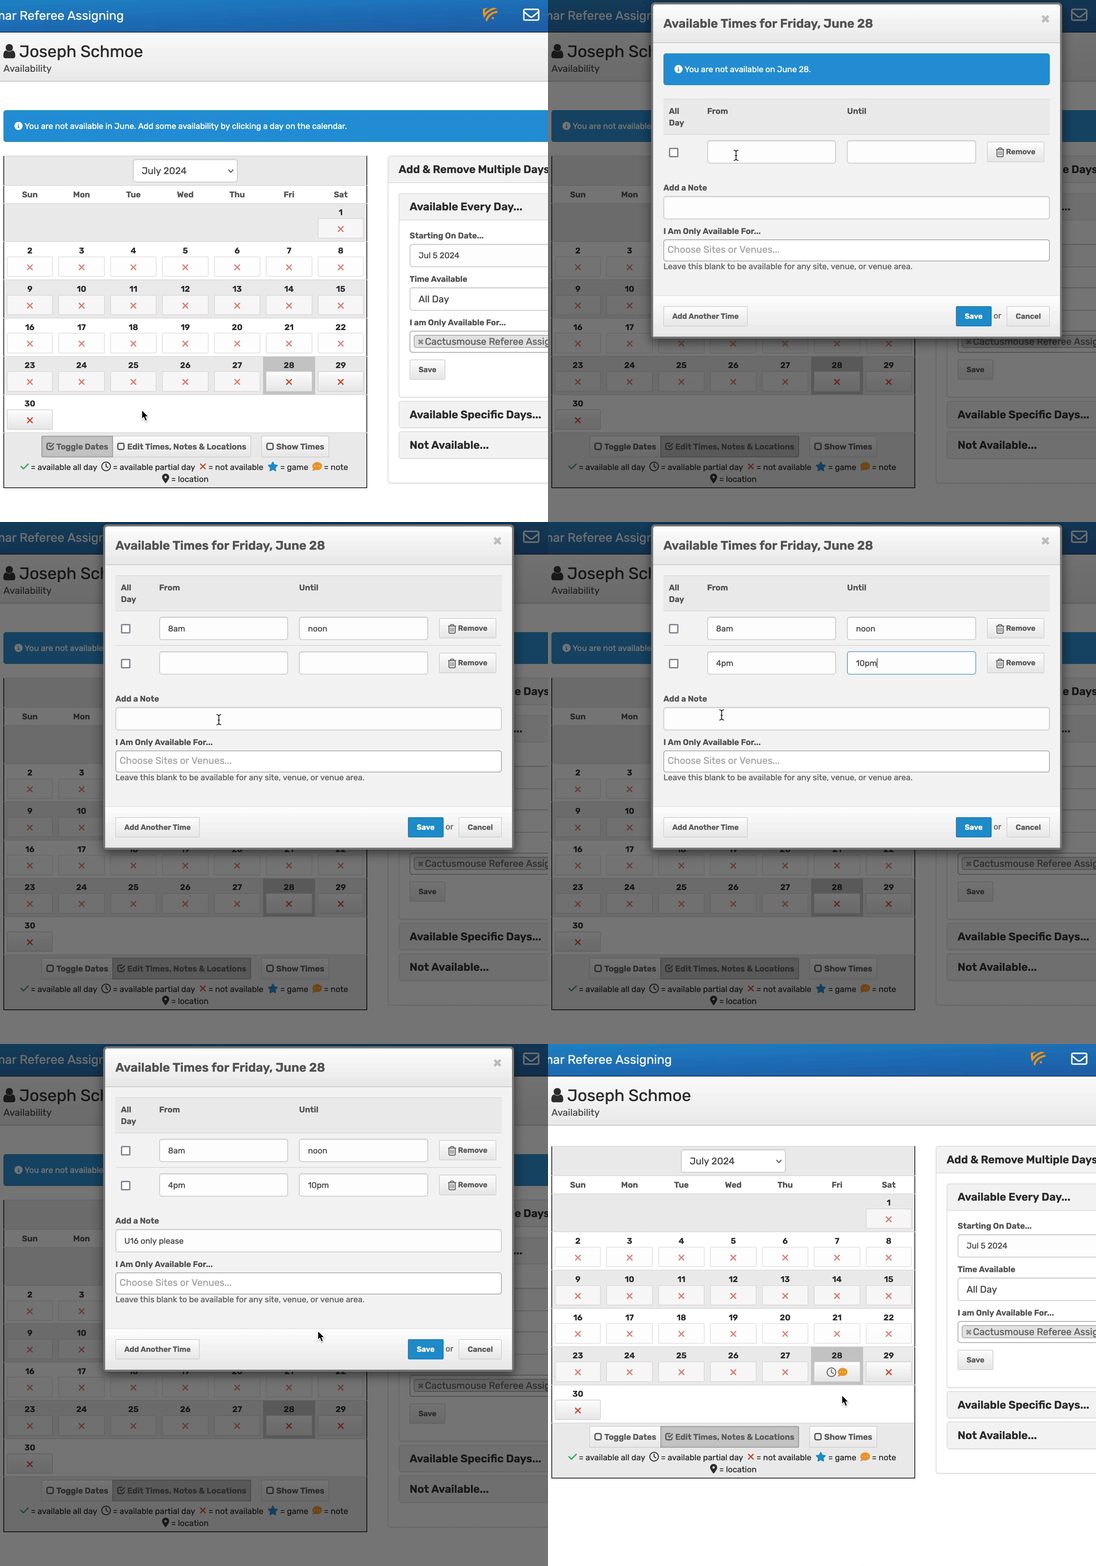
4.To add more specific availability, you can add available times to a certain date, click the ‘Edit Times, Notes & Locations’ where you can select a time range for your availability, a specific location you are only available to work at, or add a notes for assignors about that date.
Find additional ways to update and manage your availability on this help guide.
Step 5 - Accepting & Declining Assignments
1. When you are assigned to work games by an assignor, you will get an email asking you to log in to accept or decline the game.
2. When you get an emailed assignment for a game, make sure you accept or decline the game as soon as you can.
This helps our assignors fill open spots quickly!
3. To accept your game, log in to Assignr and click the ‘Games’ menu, then choose ‘Unconfirmed games’
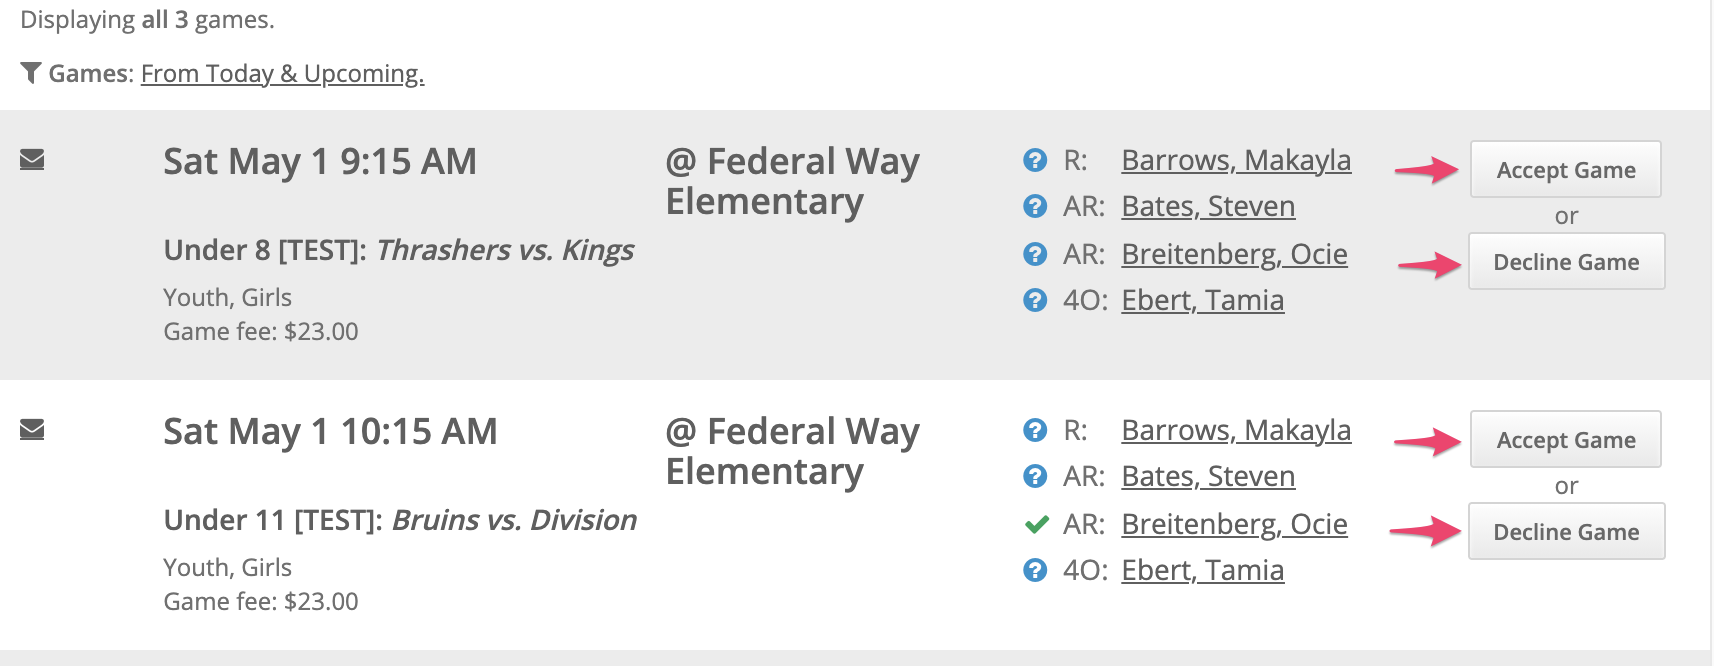
4.You will see a list of games waiting for you to Accept or Decline. Each assignment will list the game information and buttons to either accept or decline the match.
If any details of the game change after you have been assigned (such as date, time or location of the game), you will get an email asking you to reconfirm your assignment. Re-Accepting the game lets the assignor know you have seen the changes to the game and are still able to work this match.
Step 6 - Game Reports and Incident Reports
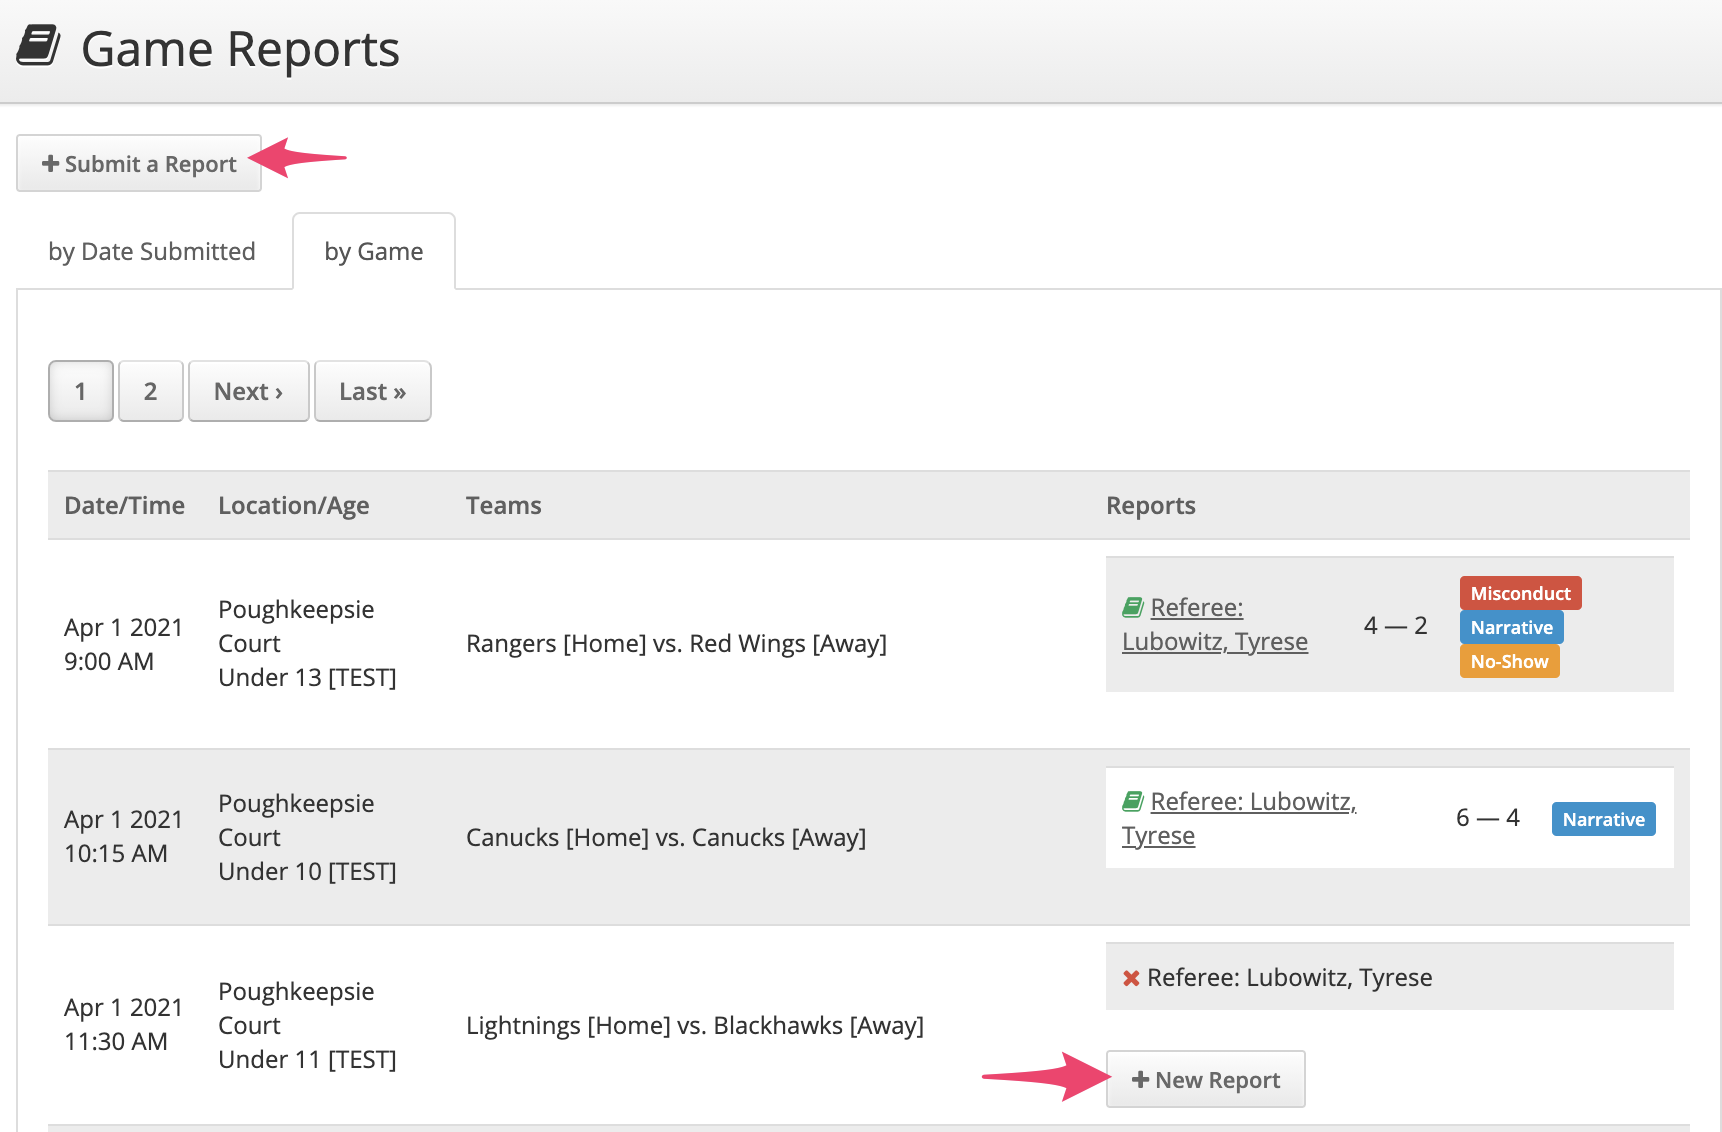
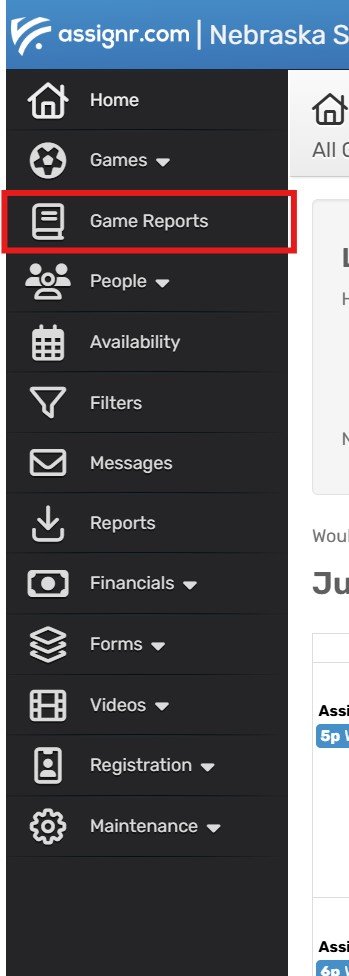
1. A game report must be completed after every game. The Referee has primary responsibility to complete the report but anyone on the crew can do the report. To do this, navigate to the ‘Game Reports’ in the menu.
2. You will see a list of recent games you have worked. If no report has been submitted, there will be a “New Report” button.
3. To complete the report you will enter the game scores, any comments about the match, and if there was an incident in the game, select ‘Has Misconduct’ box.
If another official did not show, or another referee filled that spot, you can also update that information here.